


How Can We Help?
Carbonetes Integration Feature
The Carbonetes application offers a feature to integrate some of the popular repositories such as GitHub, GitLab, and Bitbucket as well as some of the popular issue and trafficking notification systems like Jira and Slack. With this feature, the users can easily scan their current projects in their integrated repository and monitor them for vulnerabilities using Carbonetes' Software Composition Analysis feature. These vulnerabilities can be easily marked and tracked by using the integrated Jira and Slack accounts so that all users would be aware of the results. It would greatly help to create an agile action when it comes to securing your code in the development process.
Version Controls
Carbonetes currently supports Github, GitLab and Bitbucket repositories that can be integrated, scanned and monitored to secure your code during development.
Configuring your Account
GitHub
With an integrated GitHub account on Carbonetes, you can easily scan a project in your current repository.
- Go to the Integrations page and click the Configure button under the GitHub Account.

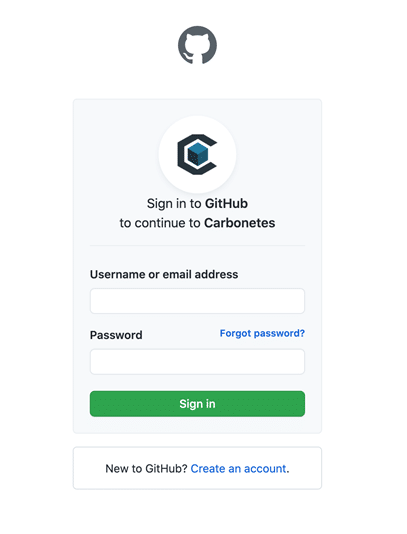
- The GitHub authorization screen will appear. Enter your username or email address and password and click Sign In.
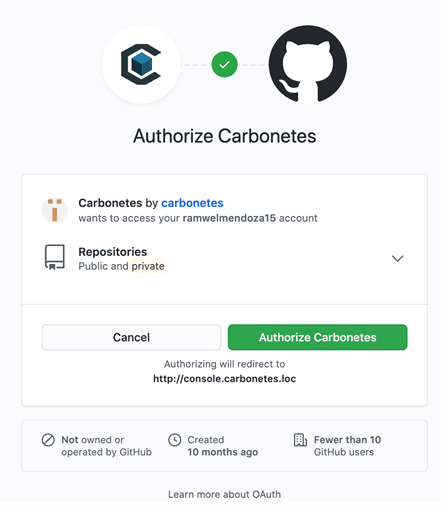
- Click authorize your account to Carbonetes to integrate your repository.
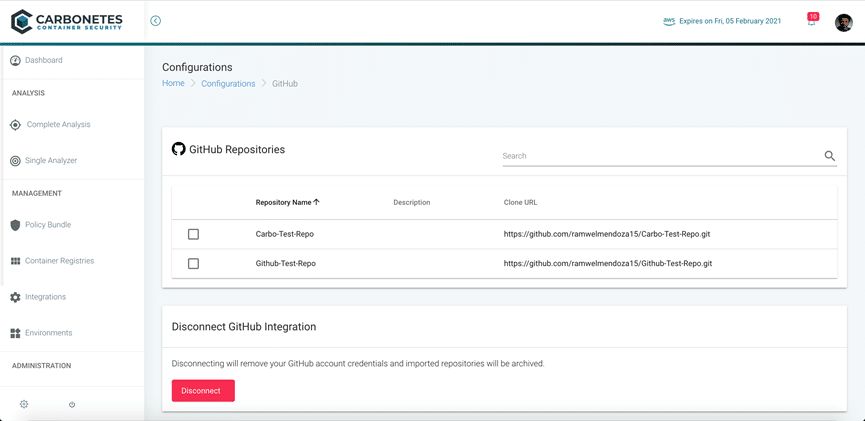
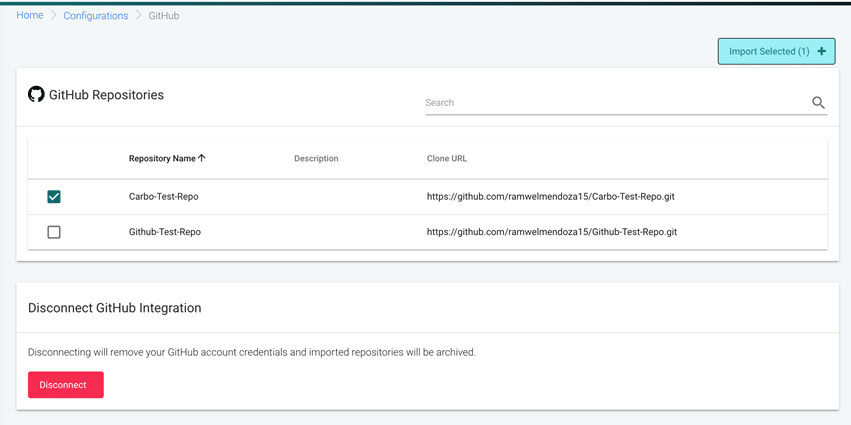
- If the Integration is successful, it will display the current project inside your repository wherein you can import it for scanning. A lock icon indicates a private repository on your account.
Bitbucket Cloud
Carbonetes offers two ways to integrate your Bitbucket cloud account. One way is leveraging an app password that you generate at https://bitbucket.org/account/settings/app-passwords/new. Another way is through an open authorization.
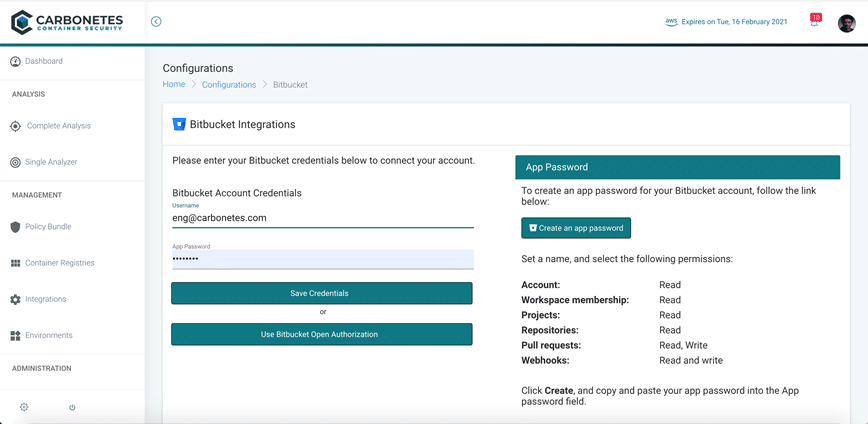
Using App Password
Once you have generated a valid app password by selecting the required scopes provided, you'll be able to use it in the integration process. Enter your username and your newly generated app password then click Save Credentials.
Using Open Authorization
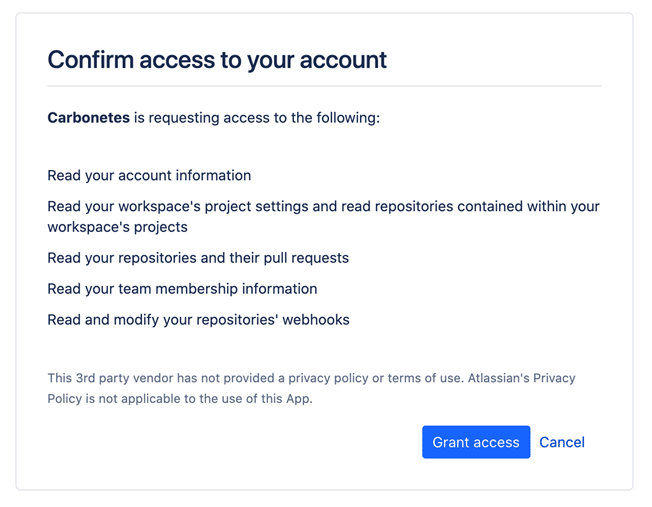
If you prefer the open authorization method of integration, you can click Use Bitbucket Open Authorization. The Bitbucket authorization screen will appear and click Grant Access to integrate your account.
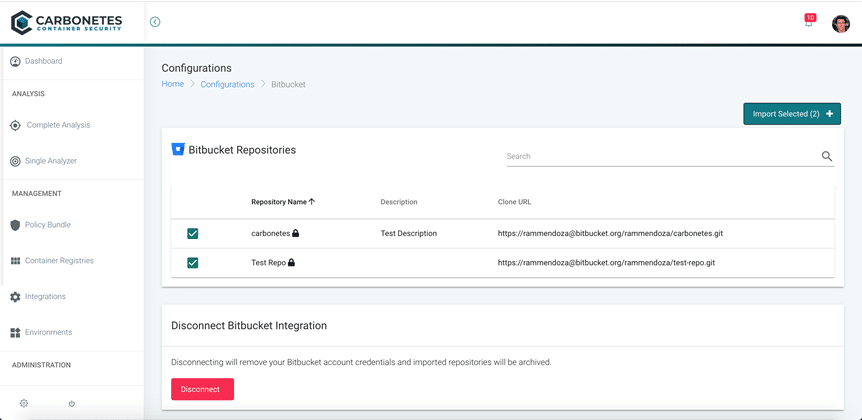
- After you have configured your account, this will display all your current repositories in your Bitbucket account. A lock icon indicates a private repository on your account.

- You can now import your desired repository to Carbonetes for scanning.
GitLab
To integrate your GitLab account on Carbonetes, you will need to create an app token on your account and select all the scopes that can be selected during the process of creating your token. You can create it at https://gitlab.com/profile/personal_access_tokens.
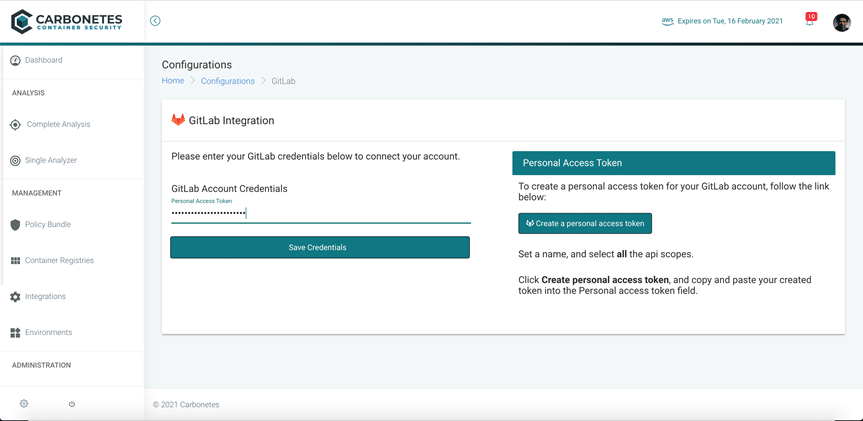
- Once you have created you personal access token, go to the integrations page and click Configure on under the GitLab account.
- Get your newly generated token and enter it to the Personal Access Token field and click Save Credentials.
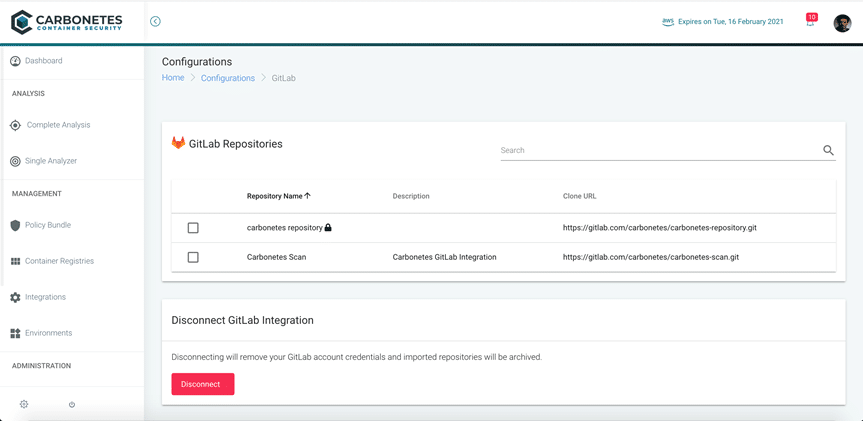
- If you successfully integrated your account, all repositories present in your GitLab account should be seen. A lock icon indicates a private repository on your account.
Importing and Scanning a Repository
To import your repositories for scanning, go to any of the configured version control accounts and click on the checkbox of the repository you need. Then click Import Selected. You can also import multiple repository you need.
To scan your imported repositories, go to the Software Composition Analysis Page and go to the Projects.
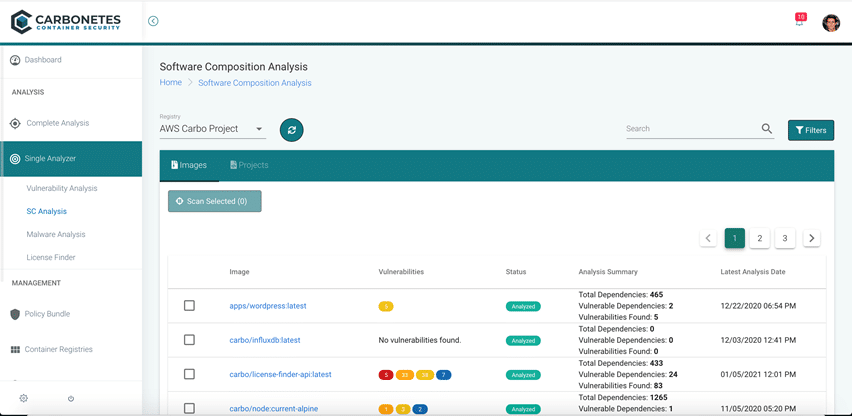
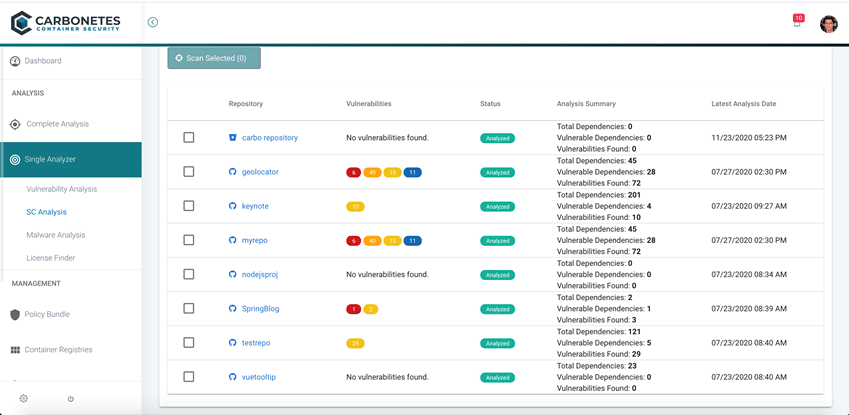
Choose any of the imported repositories for scanning. An icon next to the repository name emphasizes what account it was imported from. Click on the checkbox of the repositories you want to scan and click Scan Selected to start and view the scan result of the Software Composition Analysis.
Disconnecting your Account
To disconnect your account, click the Disconnect button on the bottom of the page to disconnect the current configured repository. Once you disconnect your account, you will be redirected to the Integrations page.
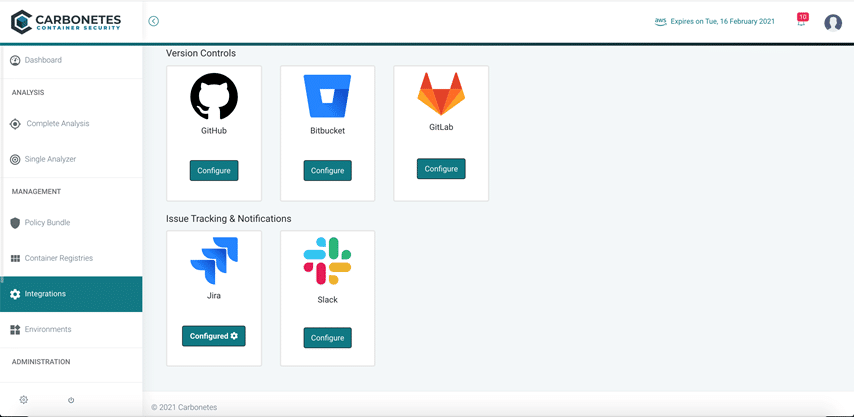
Issue Tracking and Notifications
An integrated Issue Tracking and Notifications account allows you and your whole team to track the current status of your projects and notify everyone involved. Carbonetes offers integration with your Jira and Slack accounts on the app.
Jira
The Jira integration allows the user to make tickets regarding the vulnerabilities found on the images. A ticket will be created and can be monitored on your Jira account and on the Carbonetes web application.
- To Integrate your Jira account, go to the Integrations page and click on Configure under the Jira account.
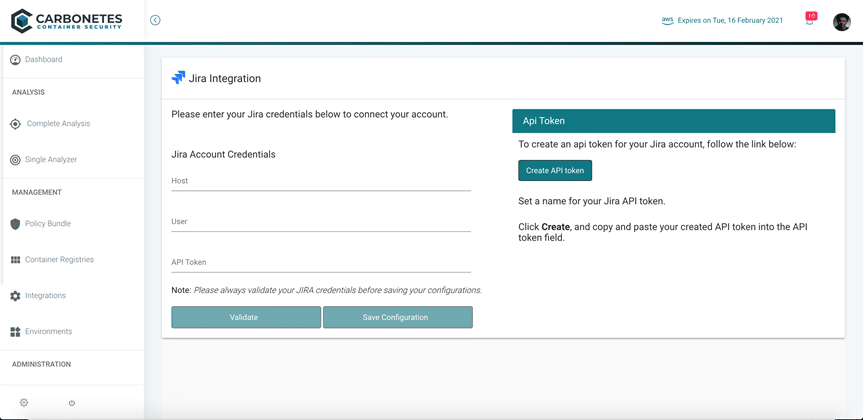
- Enter your Jira Host, User and your API token on each designated field. You can create your Jira API Token at https://id.atlassian.com/manage-profile/security/api-tokens. After entering the valid credentials, click validate your account to check if your account is valid and exists on Jira.
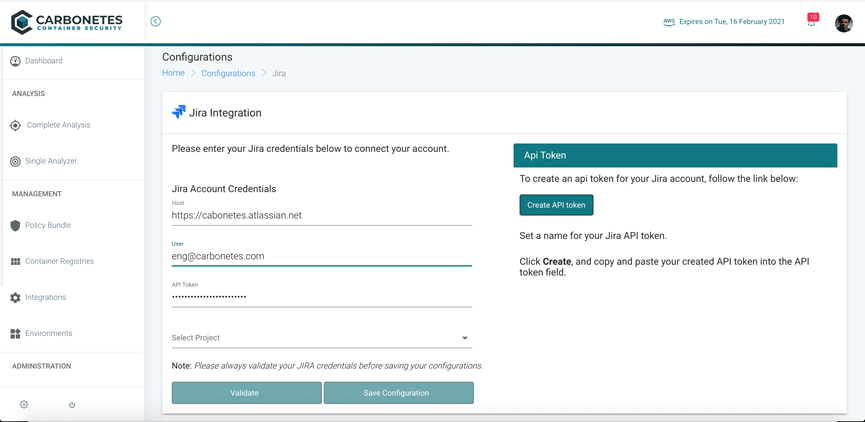
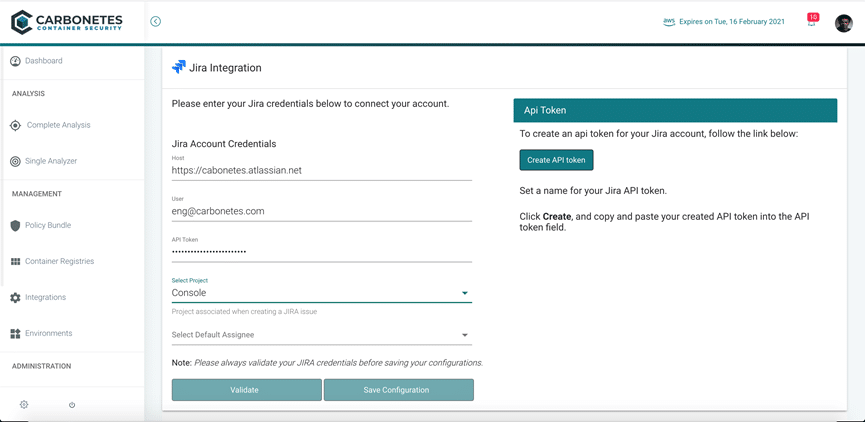
- Select a project that are currently present on your account.
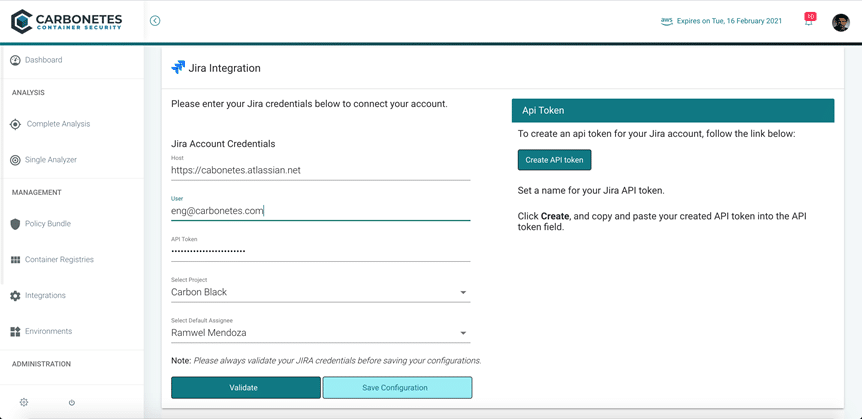
- Select a default assignee of the tickets that will be opened up, and click Save Configuration.
Opening a ticket
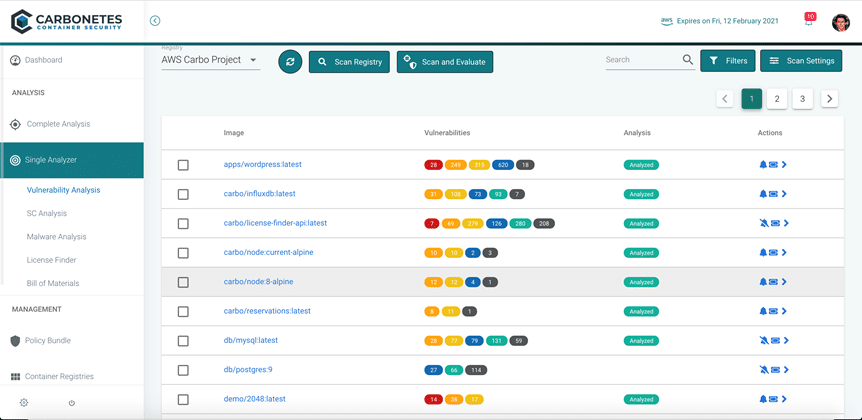
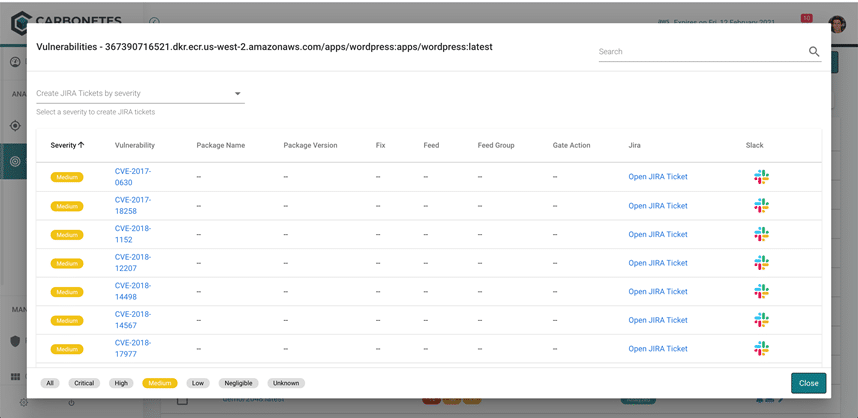
- A ticket can be opened when you view the list of vulnerabilities found in the Vulnerability Analysis that is offered by Carbonetes. You can click the vulnerabilities found on the Vulnerability Analysis page to open up the Image Vulnerability modal dialog box.
- When the modal dialog box is revealed, you can click the Open JIRA Ticket to generate a ticket for that found vulnerability on the image.
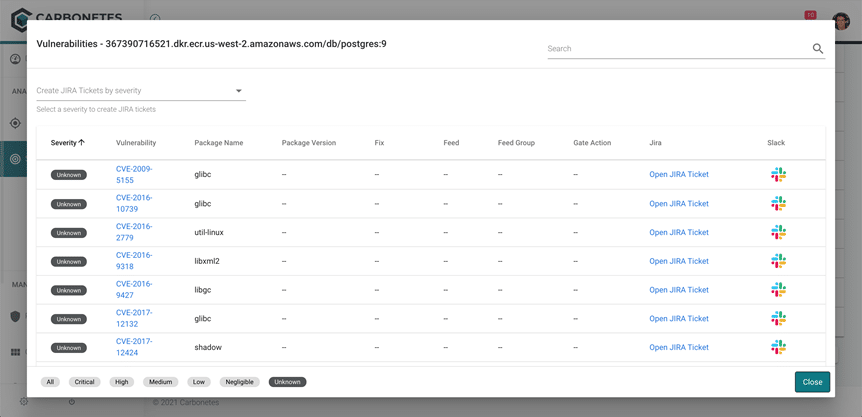
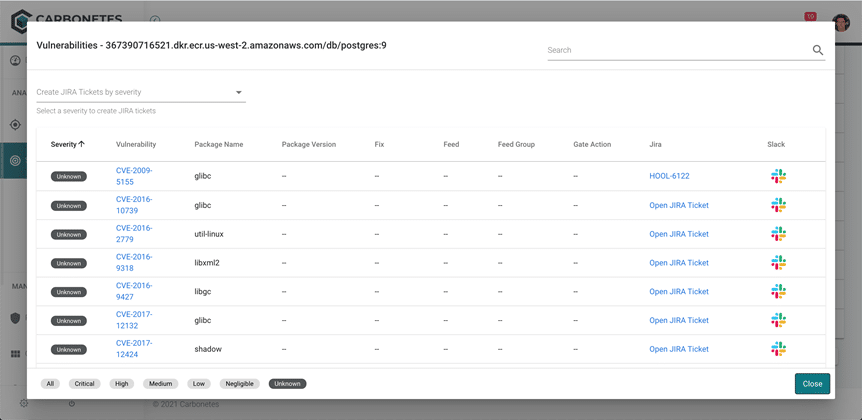
- After the ticket has been generated, a ticket number will appear.
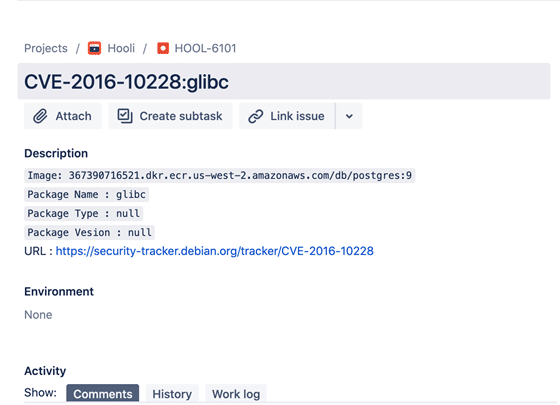
- You can review the issue within the Jira website by clicking the generated ticket number on the Image Vulnerability modal.
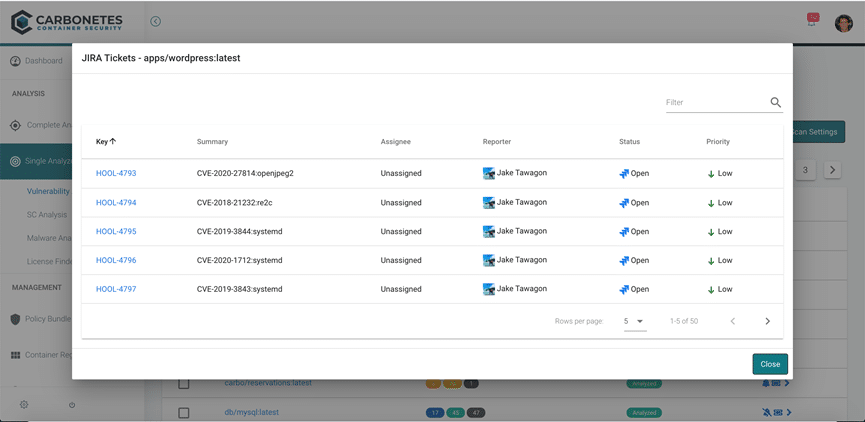
- You can check all Jira tickets associated with the image by clicking on the ticket icon beside the image.
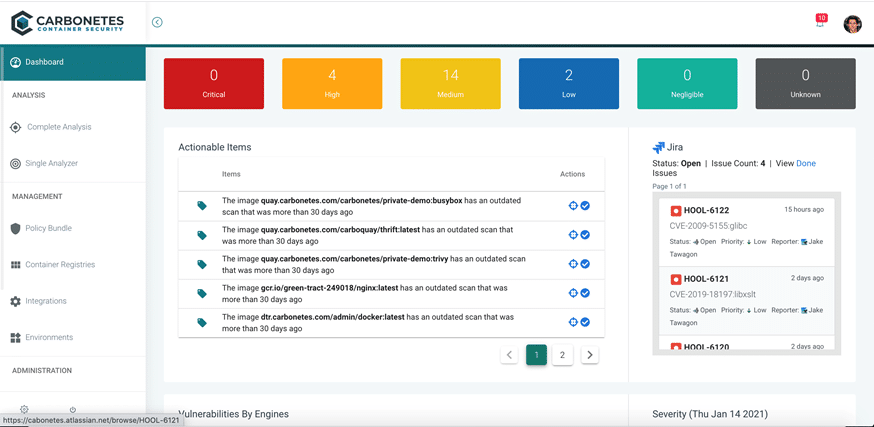
- You can also view the generated tickets on JIRA by navigating to the dashboard of the Carbonetes App.
Slack
An integrated Slack account is also a way to be notified of the issues on your projects. It replaces the email notification with a chat box system where you can review the vulnerabilities found on your projects.
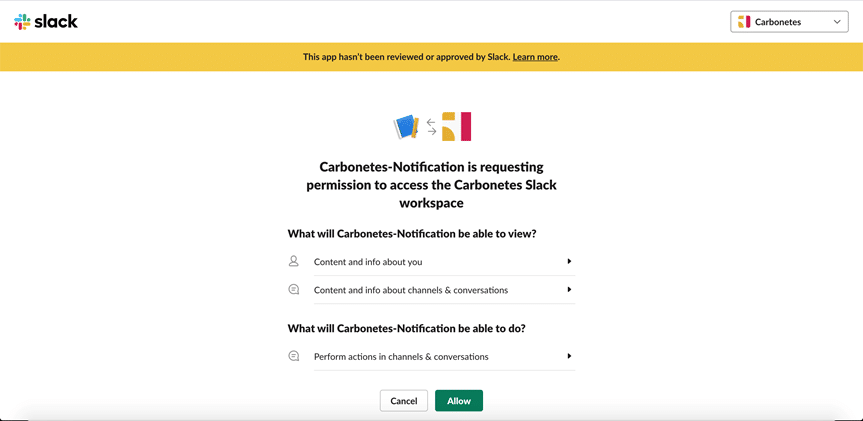
- To integrate your Slack account, navigate to the integration page and click Configure under the Slack account. The Slack authorization will appear and click Allow.
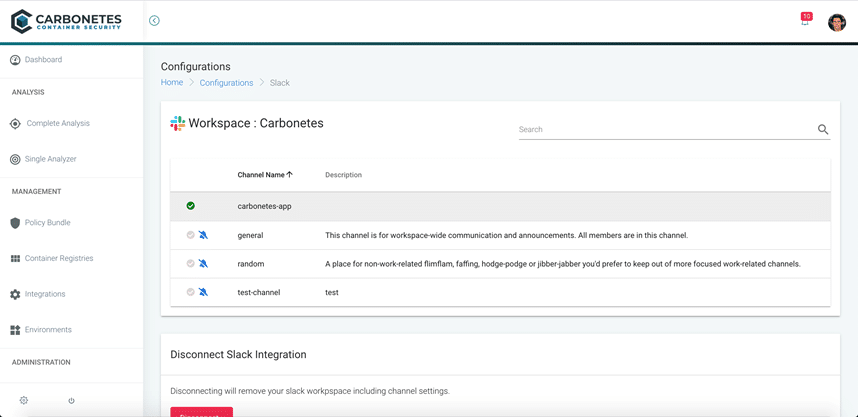
- After successfully integrating your Slack account, your current channels will be displayed.
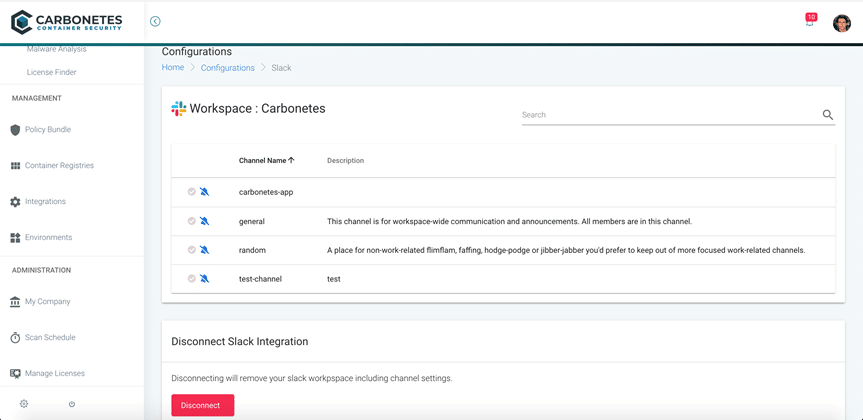
- Select a default channel where the issues will be sent out. All members listening to that Slack channel will be notified when a message is sent.
- You can navigate the the Image Vulnerability page and click on the vulnerabilities found within an image to reveal the Image Vulnerability modal dialog box.
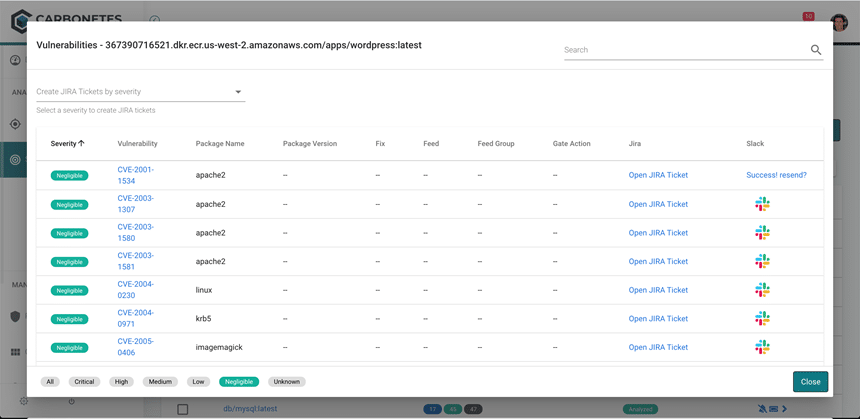
- Click the Slack account icon to send a message.
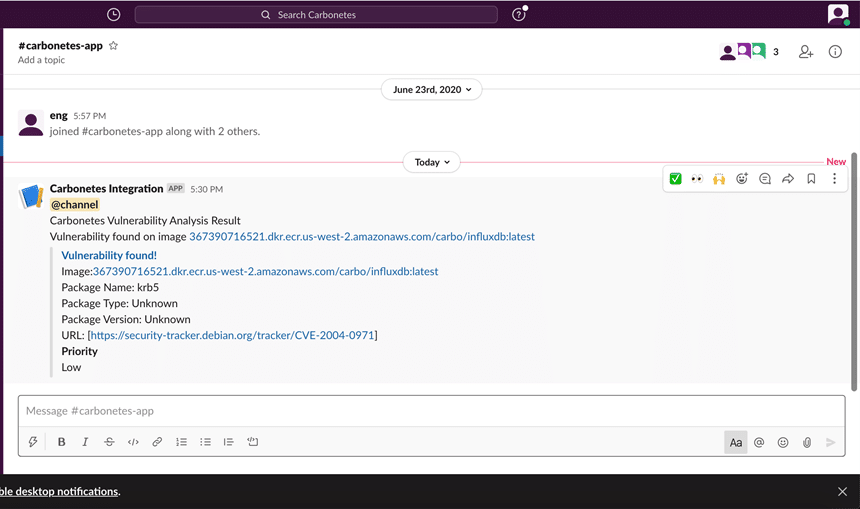
- You can view the sent issue on your Slack account.


